Need a little extra light in your life? Install a skylight above a room or install new windows in a room that’s low on natural light. Skylights let in up to five times more light than a sidewall window and plenty of warmth.
Installing A Skylight
Because skylights are installed at the roofline beneath the roof shingles and sheathing, the construction of the roof must be able to support the skylight. This means that not all roof types can have a skylight installed. Stick-framed roofs with rafters tend to be better suited for skylights due to the excess room as opposed to truss-framed roofs. Skylights also come in two glazings – glass and plastic. Glass is twice as heavy and more expensive, but incredibly scratch and impact resistant, blocks more UV rays, and comes in custom sizes and shapes with an option of low emissivity or argon gas layers for insulation. Plastic is sold in the stronger polycarbonate version or weaker acrylic varieties. It’s cheaper but allows half as much light in and is less likely to break than glass. However, it will still scratch and blocks little to no UV. Skylights are possible for DIYers to install, but the complex installation and numerous risks of falling or a leaky roof means this installation is best left to the pros. A skylight installation in an existing roof requires re-shingling certain sections of your roof, so hold off on starting this project until you need your roof replaced.
Installing Windows
From helping with energy efficiency to framing a room in your home, windows provide protection and added style. Whether you’re adding or replacing old windows in your current space, a few precautions and some simple steps will help you get the job done. Since the large majority of window installation involve replacements for homeowners, you can see the steps for new build installations here.

The benefits of replacements are that it’s a manageable project for an experienced DIYer since the wall opening is already finished. Unfortunately, replacement windows are also a special order product and can’t be found on the shelves of most big-box home improvement centers but smaller retailers like Larry’s Lumber and online retailers can help in that aspect.
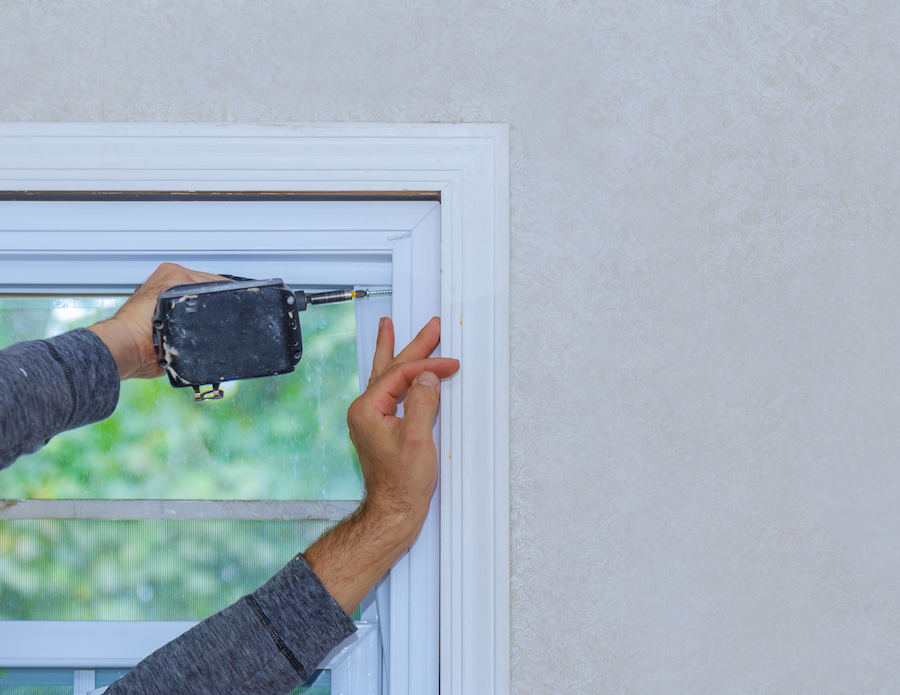
Before you begin your replacement window installation, measure your height and width throughly without including the frame and moulding. This will ensure your replacement window will actually fit – a very important aspect. Then, grab your eye protection, gloves, and tools to get started. Be mindful that in older houses, as older window weights were often cast from lead. To begin, remove the stop bounding by gently prying it away from the frame and without removing the window trim. Then, remove the existing pane with a drill or screwdriver, remove or disconnect weights or balances, clean and repair any damage to the existing opening, dry fit the replacement window, with shims below and on both sides of the frame, then finish installation with caulk and replacing the shims. Finally, trim the shims, add insulation, and re-install the stop moulding! This operation is often classified as intermediate level work largely due to the potential safety hazards associated with installation, but if you feel your have the expertise it should be a walk in the park. If not, check your local list of contractors or experts for quality service!


